By Martin Harris.
Dust Collection Fittings: Wyes, Elbows, and Reducers
The dust collection fittings that lose the least airflow are 45 degree wyes where branches join the main, long radius elbows, and gradual reducers placed right at the tool. Tees, tight elbows, and sudden size changes cost more. Fittings add up fast: in Oneida's published loss table, one 4 inch 90 degree elbow costs .450 in. w.c., more than 5 feet of straight 4 inch duct at .285.
In. w.c. stands for inches of water column. It is the unit for static pressure, which is the resistance your collector has to pull against. This page covers each fitting type, what it costs in airflow, and how to put them together. For the bigger picture of sizing and routing duct, start with my dust collection ductwork guide.
The fittings in a dust collection system
- Wye. A Y shaped fitting where a branch joins the main at an angle, usually 45 degrees. Duct makers also call these laterals, and Spiral Manufacturing sells them in 30 and 45 degree versions.
- Tee. A T shaped fitting where the branch meets the main at 90 degrees.
- Elbow. A bend that changes the direction of the run. The common angles are 90 and 45 degrees. How tight the bend is matters as much as the angle.
- Reducer. A fitting that changes duct size, for example from 6 inch to 4 inch. Some taper gradually and some step down all at once.
- Coupling. A short sleeve that joins two pieces of pipe of the same size.
- Hose adapter or cuff. The piece that connects rigid duct or a machine port to flex hose. Rubber cuffs stretch over ports that are slightly off size.
- Blast gate. A sliding valve that opens or closes a branch, so the collector's full airflow goes to the tool you're using.
- Cleanout. A removable cap or door that lets you clear a clog without taking the duct apart.
What each fitting costs in airflow
Oneida publishes static pressure losses for common fittings. I added the last column, which converts each loss into the length of straight duct that costs the same. It makes fittings easier to compare.
| Fitting | 4 in loss | 4 in equal to | 6 in loss | 6 in equal to |
|---|---|---|---|---|
| 5 ft rigid duct | .285 | 5 ft | .185 | 5 ft |
| 45° elbow | .225 | 3.9 ft | .282 | 7.6 ft |
| 45° wye | .375 | 6.6 ft | .329 | 8.9 ft |
| 90° elbow | .450 | 7.9 ft | .564 | 15.2 ft |
Loss values in in. w.c. from Oneida Air Systems static pressure component data, measured at approximately 4,000 FPM and sea level. Equivalent lengths are my own arithmetic from those values.
In a 6 inch system, one 90 degree elbow costs about as much as 15 feet of straight pipe. When I plan a run, I count fittings before I count feet. A slightly longer route with fewer turns often comes out ahead. To add these numbers up for your own layout, use the worksheet on my static pressure loss calculation page.
Wyes vs tees
Use wyes. A tee forces the branch air to turn a full 90 degrees and crash into the air already moving down the main. A wye brings the branch in at an angle, so the two streams merge in roughly the same direction.
Bill Pentz's ducting guidance is to pick wyes with the gentlest angle or the longest radius you can find. He warns that standard HVAC wyes have too much resistance for dust collection. HVAC fittings are made for heating and cooling ducts, and dust collection air moves at several thousand feet per minute.
Install each wye so the branch points toward the collector. If you put one in backward, the branch air has to turn more than 90 degrees to join the main, which is worse than a tee.
Elbows: 90s, 45s, and radius
A 45 degree elbow costs half of a 90 in Oneida's table. That leads to a common myth. Many people replace one 90 with two 45s to save airflow. In Oneida's numbers, two 45s add up to the same loss as one 90 at every duct size. The real saving comes from a route that needs only one 45 instead of a full 90.
What does make a difference is the radius of the bend. Radius is measured to the centerline of the pipe. Engineers describe it as R/D, the radius divided by the duct diameter. A 4 inch elbow with an R/D of 2 has an 8 inch centerline radius. Pentz's static pressure calculator uses a loss factor of 0.13 for a smooth stamped steel 90 degree elbow with an R/D above 2.0. A tighter bend has a higher loss factor, and a sharp mitered corner is worse still.
If you build with PVC drain fittings, look for the long sweep versions. A short quarter bend in plumbing is made to fit inside a wall, and it is a tight turn.
Reducers: where and how to step down
When air goes from a bigger pipe into a smaller one, it has to speed up, and faster air means more resistance. A gradual taper lets the air speed up smoothly. A sudden step makes the air tumble at the edge, which wastes pressure.
- Reduce at the tool. Keep the air in the larger duct for as much of the run as you can. Put the reducer right at the machine.
- Never step down and back up. A run that goes 6 inch to 4 inch and back to 6 inch pays the reducer loss twice and gains nothing.
- Bring small ports up to 4 inch. Spiral Manufacturing's design steps call for a reducer to 4 inch duct on any port smaller than 3 inches.
- Pick tapered over flat. A cone shaped reducer is a better choice than a flat plate with a smaller hole cut in it.
Picking the main and branch sizes comes first. My comparison of 4 inch vs 6 inch dust collection duct covers how to choose.
Install direction, sealing, and grounding
Fittings have a direction. Bill Pentz points out a common install mistake: joints put together so the air runs into an interior lip. Point the male end of each fitting toward the collector, the same way a plumber points the spigot end downstream in a drain line. The air then slides over each joint instead of hitting the edge.
Blast gates have a direction too. Pentz notes that many people install gates backward, so the locking screw pushes the slide away from the vacuum side. That leaves a noisy air leak. He also suggests putting gates near the wye on the main instead of down at the tool, so dust doesn't pile up in a closed drop. My guide on how to install blast gates covers placement step by step, and my best blast gates roundup covers the hardware.
Seal every joint. A leak lets the collector pull room air instead of air from the tool. For joints you may take apart later, Pentz recommends 2 inch aluminum foil duct tape. For permanent joints, he recommends duct sealing compound or polyurethane caulk.
Spiral Manufacturing recommends grounding all duct runs, including flex hose, because dust in the air can be an explosion risk. If you use plastic duct and fittings, read my guide to grounding PVC dust collection. For anything beyond a hobby shop, check your local fire code.
PVC drain fittings vs dust collection fittings
Many hobby systems use PVC sewer and drain pipe, sold as ASTM D2729. Bill Pentz likes it because it costs far less than metal or Schedule 40 PVC. The fittings are easy to find at home centers. The catch is size. A 4 inch D2729 pipe has an outside diameter of about 4.215 inches, larger than the 4 inch fittings on most dust collection hose. You need adapters made for S&D pipe where the rigid duct meets hose or a machine port.
Metal snap lock and spiral duct uses fittings built for moving air, with smoother bends available. It usually comes from a duct supplier rather than a hardware store. My PVC vs metal dust collection pipe comparison covers the tradeoffs. Whatever you use, add a cleanout where a clog is likely. Spiral Manufacturing suggests one anywhere long slivers of wood could hang up.
Quick connect and magnetic fittings
If you move one hose between several machines, a quick connect fitting saves you from fighting hose clamps every time. Magnetic versions have become popular for this. I cover how they work and when they make sense in my article on magnetic dust collection fittings. For the hose itself, see my best dust collection hose picks.
A shopping list for each branch
Here is how I build a parts list from a floor sketch. Count these for every tool:
- One wye where the branch leaves the main, sized main by branch (for example 6 by 6 by 4).
- One blast gate, in the branch size.
- Each elbow on the drop, noting 90 or 45 and whether it is a long sweep.
- One reducer, if the branch is larger than the tool port.
- One hose adapter or cuff at the machine, plus clamps.
- Couplings for every joint in straight runs longer than one stick of pipe.
Then add the main line fittings, a cap for the far end of the main, and a couple of spare 45s for surprises. For how fittings fit into the rest of a shop setup, from choosing a collector to cleaning the air, see my complete guide to small shop dust collection.
Fittings and hose worth buying
 Check price on Amazon
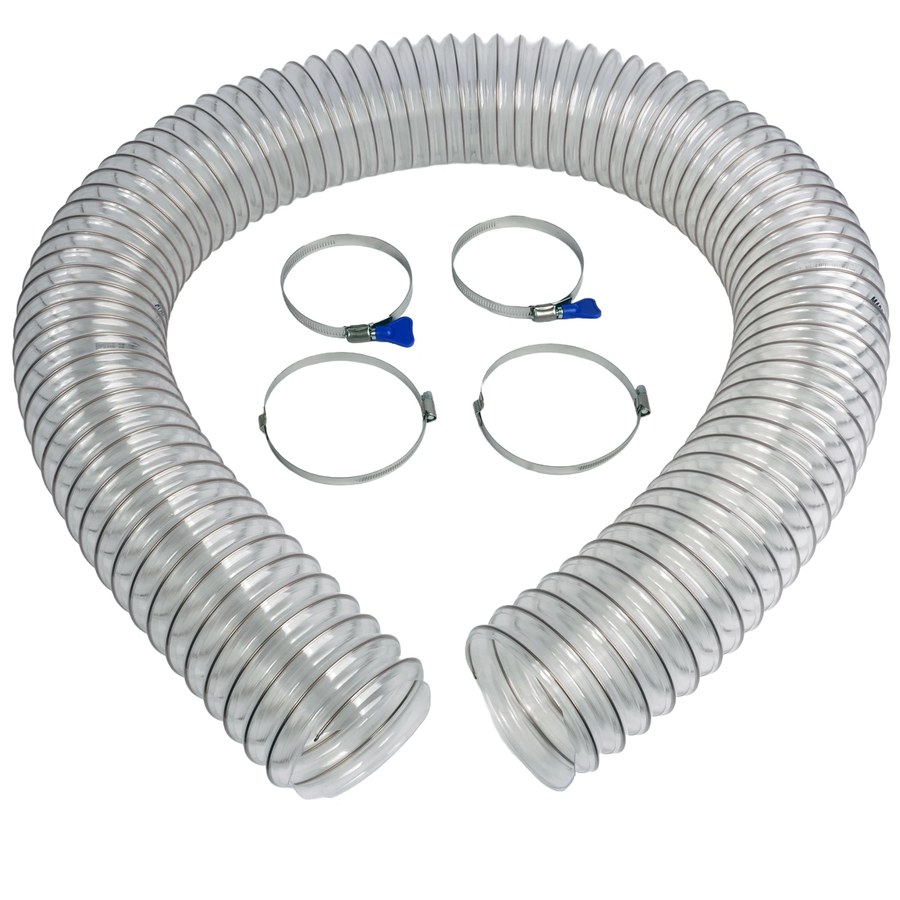
4 in. smooth-wall flex, 6 ft$35
The 4 inch smooth flex most drops end in.
 Check price on Amazon
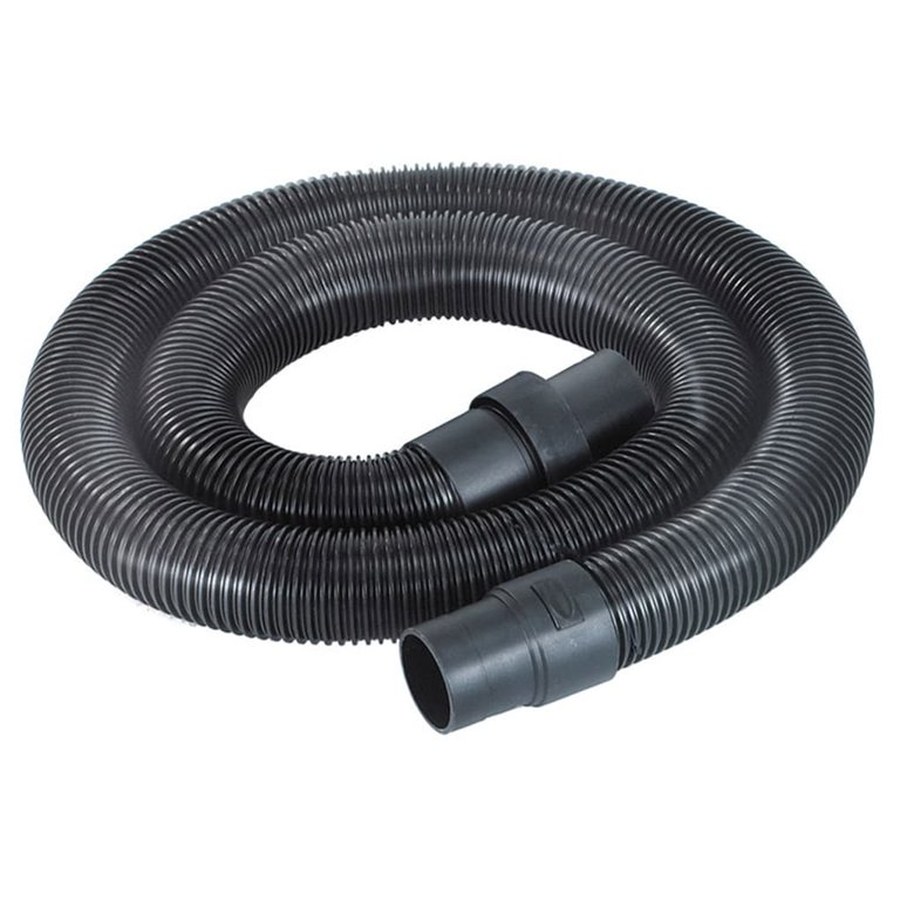
2.5 in. shop-vac hose, 10 ft$40
The 2.5 inch hose for small port tools, which is the size most adapter stacks are trying to reach.
- Check price on Amazon
POWERTEC 4 in. to 2.5 in. reducer with flex cuff
A 4 inch to 2.5 inch reducer with a flex cuff, which is the adapter most people need to get a 4 inch drop onto a small port tool. Check the port's outside diameter first, since sizes vary between brands.
 Check price on Amazon
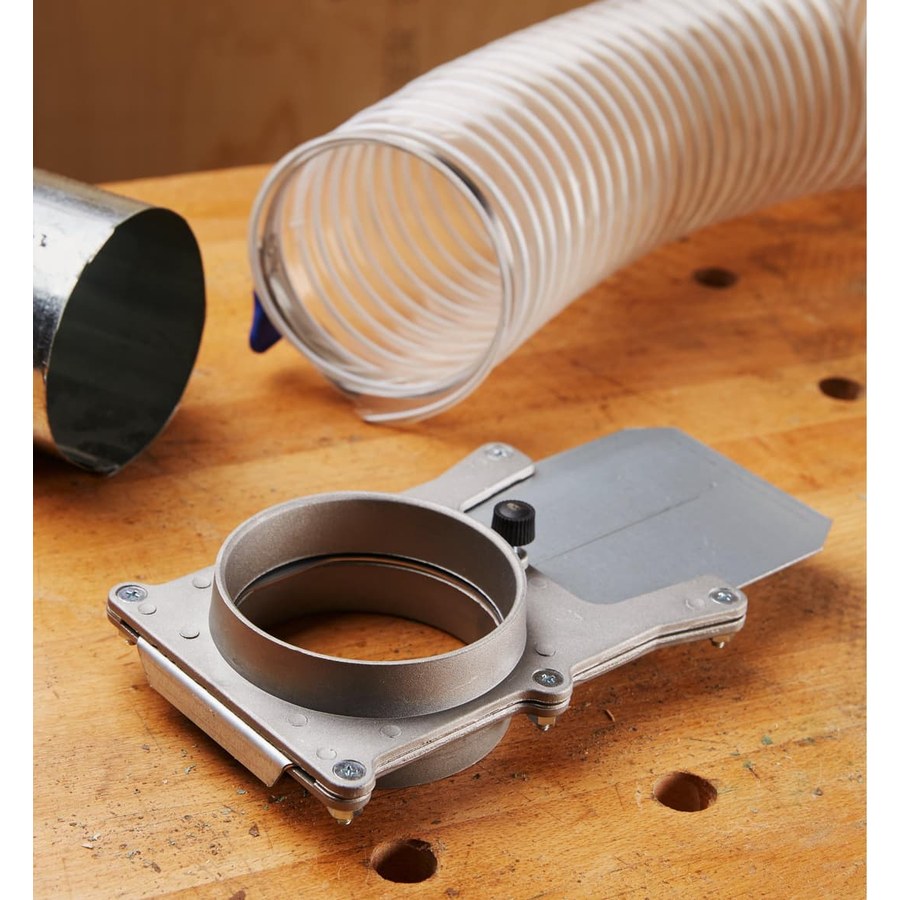
4 in. aluminum self-cleaning gate$35
Buy gates and fittings from the same family where you can, since sizes are not standard between brands.
FAQ
Should I use a wye or a tee for dust collection?
A wye. It brings the branch air into the main at an angle, so the streams merge instead of colliding. Install it with the branch pointing toward the collector.
Are two 45 degree elbows better than one 90?
Not by Oneida's numbers. Two 45s add up to the same loss as one 90. A long radius 90, or a route that needs only a single 45, is where the saving comes from.
Can I use plumbing fittings for dust collection?
Yes, many hobby shops use PVC sewer and drain fittings. Choose long sweep elbows and wyes over short bends and tees. Plan for adapters, since 4 inch D2729 pipe is about 4.215 inches on the outside and won't fit standard 4 inch hose fittings directly.
Which way does a dust collection fitting face?
Point the male end toward the collector so air flows over each joint instead of into a lip. Wye branches also point toward the collector.
Do I need to seal dust collection fittings?
Yes. Leaks pull in room air and cut suction at the tool. Bill Pentz recommends aluminum foil duct tape on joints you may take apart and duct sealant or polyurethane caulk on permanent ones.