By Martin Harris.
How to Install Blast Gates (and Where to Put Them)
Put a blast gate on every branch line, right next to the wye where that branch leaves your main duct. Face the gate so its locking screw pushes the slide toward the collector. Seal each joint with aluminum foil tape, keep the flex hose at the tool short, and hang the duct so nothing sags. That covers most of the job. The rest of this page explains why each step matters and how to do it in a one or two car garage.
A blast gate is a sliding plate that opens or closes one branch of your ductwork. When every gate is closed except the one at the tool you are running, the collector's airflow goes to that tool instead of leaking out of every open port in the shop. If you have not picked gates yet, my best blast gates roundup compares metal, plastic, and self-cleaning styles. For the bigger picture, start with my complete guide to small shop dust collection.
Where to put blast gates: near the main or at the tool
Bill Pentz runs one of the most cited dust collection research sites in the hobby. His ducting page says the best place for blast gates is next to the wyes off your main line, up high. A wye is the Y shaped fitting where a branch joins the main. His reasoning is simple. Every bit of open pipe or hose left between the main and a closed gate adds resistance, and that dead section can fill with material that shoots down the line when you open the gate.
Picture a gate mounted down at the tool instead. The drop pipe from the main to the tool stays connected to the main while the gate is closed. The air inside it sits still, so dust drifting in from the main settles there. When you open the gate, that pile gets pulled through all at once. The closed drop also works like a side pocket on the main, which disturbs the air moving past it on the way to other tools.
The tradeoff with gates up high is reach. If your main runs along the ceiling, the gates end up over your head. Here are the ways I would handle that in a garage shop:
- Run the main along the wall instead of the ceiling. A main mounted a little above head height puts the wyes and gates where you can reach them without a step stool, and it still keeps duct out of the way of lumber and walking paths.
- Keep a hooked stick near each drop. A dowel with a screw hook or a notch in the end is enough to push or pull a slide that sits a foot or two out of reach.
- Use automatic gates for the hard to reach spots. Powered gates open when the tool starts and close when it stops. They cost a lot more than manual gates, so I cover when they make sense in my automatic blast gates guide.
- Accept a gate at the tool for a single moving hose. If your shop has one flex hose that you move between tools, a gate on the end of that hose is fine. The branch-at-the-main rule applies to fixed duct with several drops.
Which way a blast gate faces
Most manual slide gates have a thumb screw or small lever that locks the slide in place. The direction that screw pushes matters. Pentz writes that many people install gates backward, so the screw pushes the slide away from the vacuum source, and the result is a noisy air leak. He describes one system with so many backward gates that it had less than half its total airflow.
Here is the logic. When the gate is closed, the collector pulls on the slide from the collector side. If the lock screw also pushes the slide toward the collector, suction and screw work together and press the slide against its seat. If the screw pushes the other way, it holds the slide off its seat and leaves a gap for air to rush through. So before you tape anything, figure out which side of the gate faces the collector and make sure the lock presses the slide in that direction. If the gate body has an airflow arrow, follow it.
Gates work in horizontal runs and in vertical drops. What causes trouble in either position is sawdust packing into the track so the slide will not close all the way. Pentz notes that gates jam with dust in their tracks and that he cleans his every few months with a heavy paperclip and a shop vac. He also favors self-cleaning designs, where the closing part of the slide passes all the way through the gate body so there is no pocket for dust to pack into.
Sealing the joints with foil tape
A dust collection system runs under negative pressure, meaning the air inside the duct is below room pressure. Any gap at a joint pulls room air in, and that air replaces the air you wanted coming from the tool. A few small leaks at gates and fittings add up. Leaks are one of the first things to check if you are fighting weak dust collector suction.
Use aluminum foil tape, the kind sold for HVAC duct, on every joint where a gate collar meets a pipe or fitting. Pentz recommends 2 inch stick-on aluminum duct tape on PVC joints, inside and out, partly for sealing and partly for grounding. Seat the gate fully first, then wrap the tape around the joint with some overlap and rub it down flat so there are no wrinkles for air to follow. I avoid gluing gates in place, since you will want to pull one out someday to clean the track or replace it. With metal duct, short sheet metal screws hold the joint together, and the tape seals it. Keep screw tips short so they do not stick far into the pipe and snag long shavings.
A note on grounding
Plastic duct and plastic flex hose build up static electricity as dust moves through them. Whether that static is a real fire risk in a hobby shop is an old argument. Pentz writes that he first avoided PVC because of static concerns, then used it after reading an article that debunked the static explosion problem. He still recommends foil tape on PVC joints for grounding, and he suggests heavy copper grounding wire around PVC joints where flex hose attaches. He also reports that his state inspector told him flammable duct materials will not pass a building, fire marshal, or insurance inspection, which matters if your shop is ever commercial or inspected.
If you do ground your duct, include the gates. A metal gate set into plastic pipe is an isolated piece of metal unless something connects it to the rest of your ground path. Run the foil tape or bare copper wire across the gate so it is part of the same path, and make sure that path ends at a proper ground. If you are not sure what counts as a proper ground in your shop, ask a licensed electrician rather than guessing, and do not connect anything inside an outlet box yourself. I go deeper on this in my guide to grounding PVC dust collection pipe.
Hanging and supporting the duct around a gate
A gate adds weight and two joints to a run of pipe. If the pipe on either side is not supported, the gate joint ends up carrying the load, and taped joints slowly pull apart. Support the pipe on both sides of every wye and gate so the gate itself only has to hold the slide.
- Wall brackets. Rockler's installation article notes that some gates have a built in bracket for mounting to a wall or bench, and that metal gates can mount to a wall with separate blast gate brackets. A bracket turns the gate into a fixed support point instead of a weak spot.
- Pipe hangers or plumber's strap. Use these on horizontal runs of main and branch. Snug them without crushing thin wall pipe out of round.
- Adapters for PVC. Rockler also sells adapters that let a gate connect to Schedule 40 PVC with a hose clamp. Check that the adapter matches your pipe type, since thin wall drain pipe and Schedule 40 have different outside diameters.
- No sagging flex. The flex hose from a gate to a tool should not hang in a loop. A sag makes a low point where dust collects, and the weight pulls on the gate collar.
Keep that last flex section as short as the tool allows. Oneida's static pressure data shows 1 foot of flex hose costing about the same as 5 feet of rigid duct at the same diameter, which I break down in my dust collection ductwork guide.
Why closed gates need to seal
Chips and dust only stay in the air inside a duct if the air moves fast enough. That speed is called transport velocity, measured in feet per minute (FPM). A leaky closed gate lets air in somewhere other than the open tool, which lowers the air speed in the branch you actually need. Published targets vary by source:
| Source | Transport velocity guidance |
|---|---|
| OSHA woodworking eTool | About 2,500 to 4,000 FPM for sawdust, chips, and shavings |
| Spiral Manufacturing design guide | About 4,500 FPM in branches, 4,000 FPM in mains |
| Bill Pentz | About 3,000 FPM horizontal, 4,000 FPM vertical |
Sources: OSHA woodworking eTool, Spiral Manufacturing duct design guide, Bill Pentz ducting page. Vertical runs need more speed because the dust has to be lifted against gravity, which is one more reason to keep closed drops short and gates sealed tight.
Step by step: installing a blast gate
- Mark the branch locations. On your duct sketch, mark where each tool's branch will leave the main. Use a wye for each branch, since a wye brings air in at an angle and loses less than a sharp tee. My guide to dust collection fittings covers wyes, reducers, and couplings.
- Turn the collector off and unplug it. Do this before cutting or fitting any duct.
- Dry fit the wye into the main. Cut the main to length, slide the wye in, and point the branch leg toward the tool it will serve. Angle the branch so it feeds air in the direction of flow toward the collector.
- Set the gate right at the wye. Connect the gate directly to the branch leg of the wye, or with the shortest coupling that fits. The goal is almost no pipe between the main and the closed slide.
- Check the orientation. Find the side of the gate that faces the collector. Turn the gate so the lock screw pushes the slide toward that side. Make sure you can reach and see the handle from where you will stand.
- Add the drop to the tool. Run rigid pipe from the gate down toward the tool, then finish with the shortest flex hose that lets the tool move as it needs to.
- Support the run. Add hangers or brackets on both sides of the wye and gate before sealing, so the joints are not under load when you tape them.
- Seal every joint. Wrap each joint with aluminum foil tape and rub it flat. Use short sheet metal screws on metal duct if the joint needs holding.
- Tie the gate into your ground path if you ground the duct. Carry the foil tape or bare copper wire across the gate so it connects to the rest of the run.
- Test with the collector running. Close every gate, turn the collector on, and listen at each gate. A whistle or hiss points to a leak or a backward gate. Then open one gate at a time and confirm you feel strong suction at that tool.
- Label the gates. A marker note on each gate saying which tool it serves saves you from opening the wrong one later.
Using the gates day to day
The habit that matters most is closing every gate except the one at the tool you are using. Two open gates split the airflow between two branches, and neither one gets what it needs. The main exception is a tool with two pickups, like a table saw with a cabinet port and an overarm guard. There you open both gates for that one tool, as long as your collector has the airflow to feed both.
Every few months, pull the slides and clean the tracks. If a gate starts sticking, that is usually packed dust, and a stuck gate that will not fully close leaks the same way a backward gate does. If you are still planning the rest of the system, my dust collection system design guide walks through collector, duct, and gate planning in order.
Gates and hose worth buying
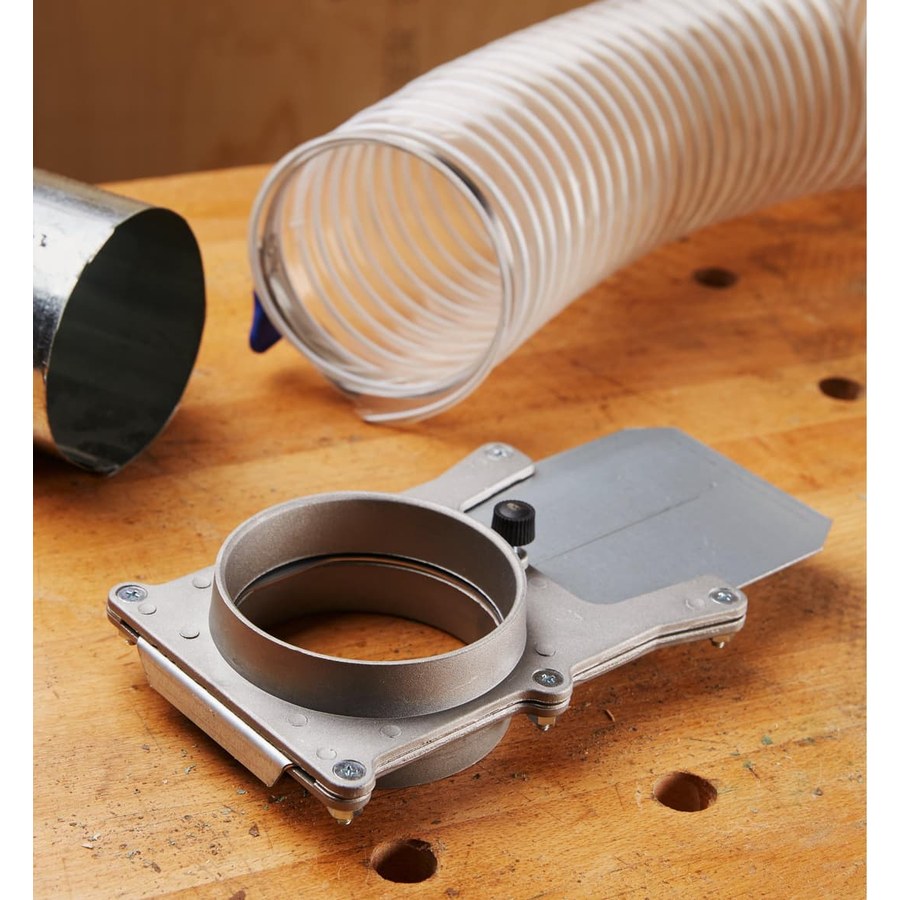 Check price on Amazon
4 in. aluminum self-cleaning gate$35
The self-cleaning slot is the one feature here worth paying extra for. A closed-slot gate packs with fines and stiffens up after a few months of real use.
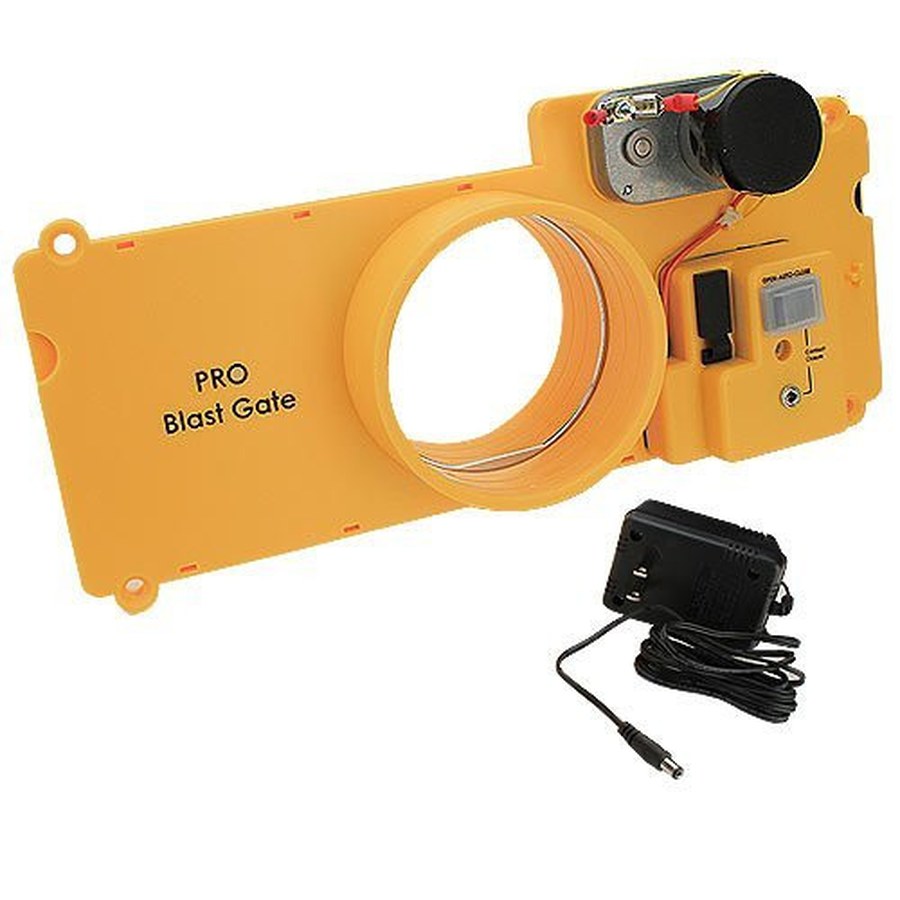 Check price on Amazon
Worth it when a gate ends up somewhere awkward to reach, which happens as soon as you put them at the branch rather than down at the machine.
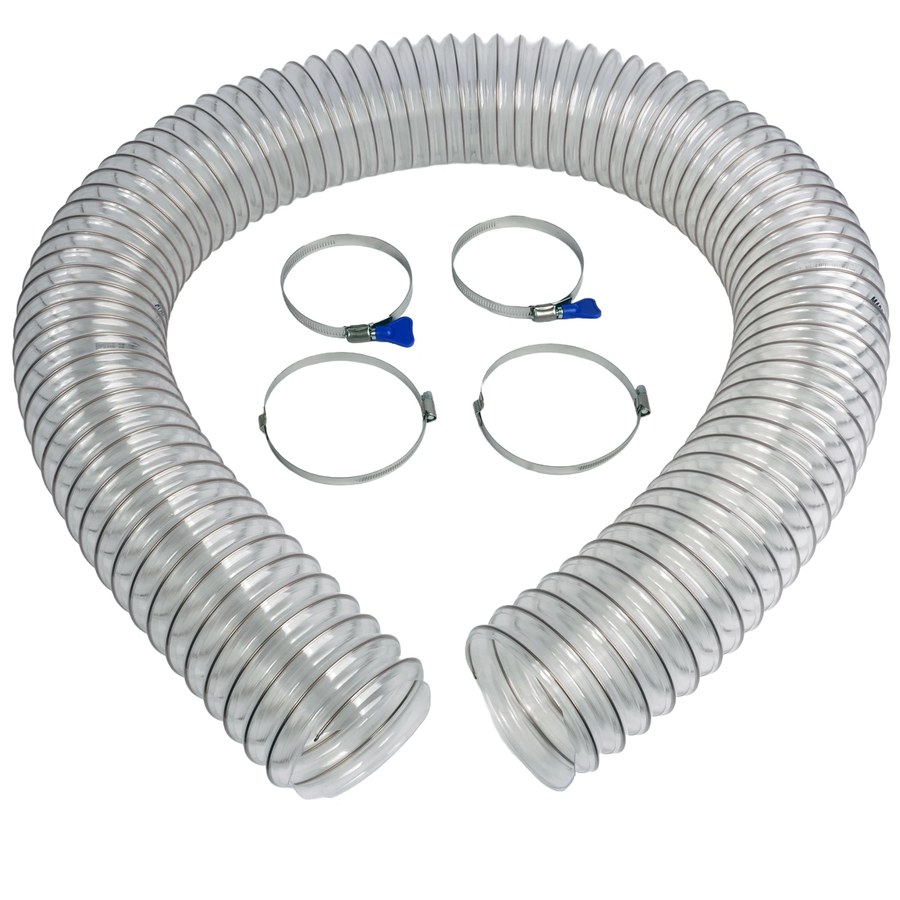 Check price on Amazon
4 in. smooth-wall flex, 6 ft$35
For the short flexible link between the drop and the machine. Smooth wall costs less airflow than ribbed, and keeping it short matters more than the brand.
- Check price on Amazon
Romeda aluminum foil tape, 2 in. x 65 ft
Step 8 seals every joint with aluminum foil tape, and the grounding section relies on it to carry a path across the gate. Use real foil tape rather than cloth duct tape, which dries out and lets go.
FAQ
Where should blast gates be placed?
Next to the wye where each branch leaves the main duct. Bill Pentz recommends this spot because any pipe left between the main and a closed gate adds resistance and can fill with dust that surges through when you open the gate.
Which way does a blast gate go?
Turn it so the locking screw pushes the slide toward the collector. Installed backward, the screw holds the slide away from its seat and the gate leaks air even when closed.
Can I install a blast gate vertically?
Yes. Gates work in vertical drops and horizontal runs. Keep the track clean in either position, since packed dust is what stops a slide from closing fully.
Do blast gates need to be grounded?
If you ground your duct, the gates should be part of that ground path so a metal gate in plastic pipe is not left isolated. Bill Pentz recommends aluminum foil tape on PVC joints for grounding. Ask a licensed electrician if you are unsure where the ground path should end.
Should I seal blast gates with duct tape or foil tape?
Aluminum foil tape. It seals flat against the joint and can also carry a ground connection, which is why Pentz recommends it for PVC joints.